Authentic Italian Focaccia Recipe – real Focaccia Genovese from Liguria
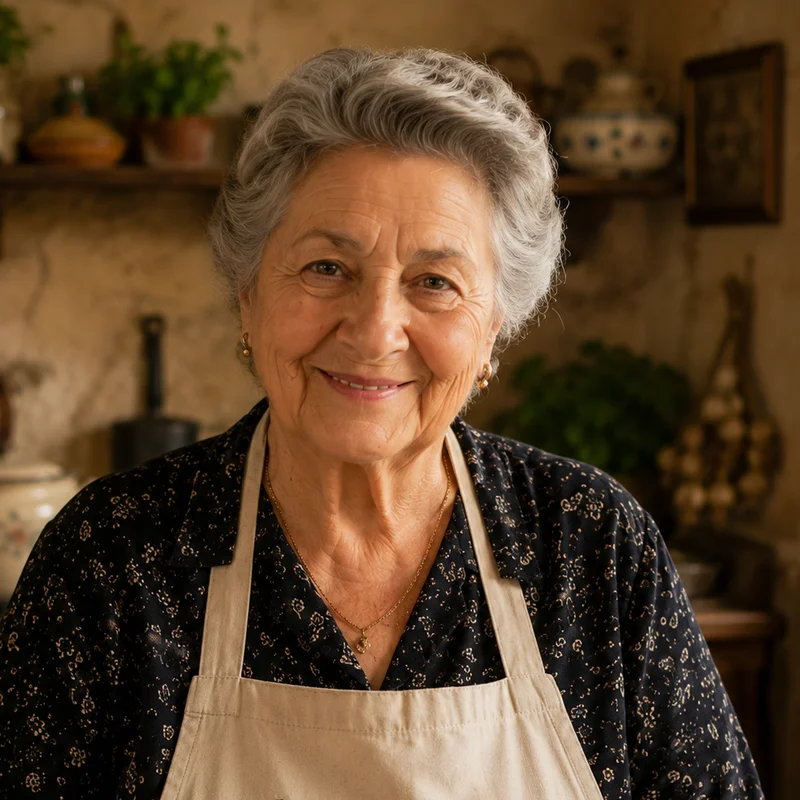
A recipe from Signora Emilia from our Cucina della Nonna series.
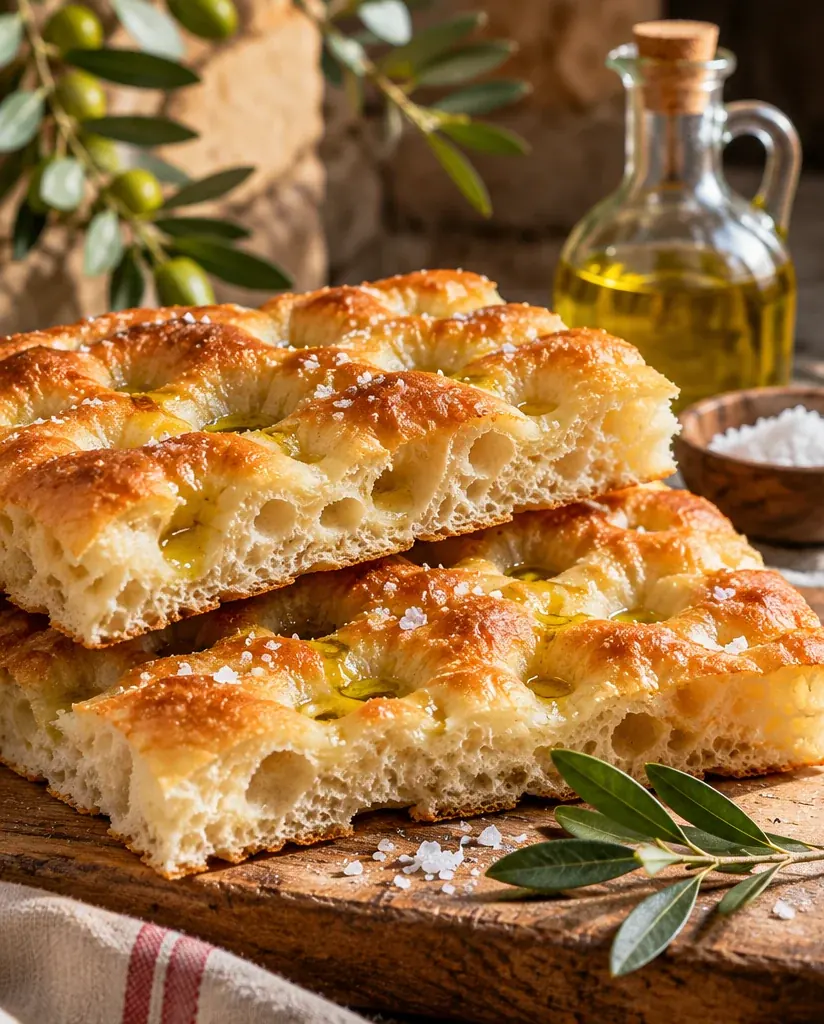
When you buy a freshly baked Focaccia Genovese at a bakery in Genoa, you recognize it right away by its scent: warm bread, extra virgin olive oil, and a pinch of sea salt. On the outside it’s golden brown and slightly crisp, on the inside soft – and its surface is dotted with the typical small dimples full of olive oil.
With our authentic Italian focaccia recipe, you can recreate the famous Ligurian fügassa right in your home oven. You only need a few ingredients, a little patience while the dough rises, and above all the right salamoia, an emulsion of water, olive oil, and salt.
This recipe shows you step by step how to prepare the dough, shape the typical finger dimples, and bake the focaccia so it develops a fine crust on the bottom while staying moist inside. And since we’re based in Liguria, good olive oil takes center stage.
Table of Contents
- What is Focaccia Genovese?
- Recipe at a Glance
- The Ingredients for a Focaccia Genovese
- Focaccia Dough Step by Step
- Salamoia and Finger Dimples
- Baking Focaccia the Right Way
- Common Mistakes and Tips
- Variations and Storage
- Frequently Asked Questions About Focaccia
- The Right Organic Olive Oil
What is Focaccia Genovese?
The Focaccia Genovese comes from the port city of Genoa and is one of Liguria’s most famous specialties. Locally, it’s often simply called fügassa. It’s eaten in the morning for breakfast, as a snack in between meals, or alongside antipasti – and tastes especially good fresh from the oven.
Unlike a thick focaccia with many toppings, the classic Genoese version stays comparatively flat. Typical features are the closely spaced finger dimples, a glossy surface, and plenty of olive oil. The salamoia keeps the dimples moist during baking, while the top develops an appetizing crust.
For classic Focaccia Genovese, you need neither tomatoes nor cheese nor rosemary. These ingredients are allowed as variations, but they’re not part of our deliberately simple original version. The official tourism information for Genoa also describes focaccia as an integral part of the region’s cuisine.
Authentic Italian focaccia recipe: at a glance
| Cuisine | Italian, Liguria / Genoa |
| Recipe | Focaccia Genovese (Fügassa) |
| Quantity | 1 baking sheet approx. 30 × 40 cm; 6–8 servings |
| Preparation / active working time | approx. 30 minutes |
| Resting and rising time | approx. 2½–3 hours, depending on room temperature |
| Baking time | approx. 20–25 minutes |
| Total time | approx. 3½–4 hours |
| Baking temperature | 230 °C (450 °F) top/bottom heat |
| Difficulty | easy to medium |
| Special feature | With salamoia, extra virgin olive oil, and the typical finger dimples |
| Dietary style | Vegan, provided all ingredients used are vegan |
Authentic Italian Focaccia Recipe: Ingredients for Focaccia Genovese
The quantities are designed for a well-oiled baking sheet of approximately 30 × 40 cm. If possible, use a Tipo 0 wheat flour or a comparable strong bread flour. The water should be at room temperature, not hot.
For the Focaccia Dough
| Tipo 0 wheat flour (alternatively, strong bread flour) | 500 g |
| Water, room temperature | 325 ml |
| Fresh yeast | 5 g (alternatively, approx. 2 g dry yeast) |
| Fine salt | 10 g |
| Extra virgin olive oil for the dough | 30 ml |
For the Baking Sheet and the Salamoia
| Extra virgin olive oil for the baking sheet | 20 ml |
| Water for the salamoia | 60 ml |
| Extra virgin olive oil for the salamoia | 35 ml |
| Fine salt for the salamoia | 4 g |
| Coarse sea salt for sprinkling | a little, to taste |
Important: The 325 ml of water goes into the dough. The additional 60 ml is mixed later with oil and salt for the salamoia. This keeps the proportions clear when you make it yourself.
The oil makes the difference: A well-balanced extra virgin olive oil pairs wonderfully with focaccia. If, like us in Liguria, you prefer Taggiasca olive oil, you’ll get a particularly delicate, Mediterranean note. However, you can also use another high-quality extra virgin olive oil.
Making Focaccia Dough Yourself – Step by Step
The dough should be soft and elastic. Because it contains more water than a classic bread dough, it may seem a bit sticky at first. Don’t add extra flour right away – with resting time and a little olive oil, it becomes easier to work with.
Step 1: Dissolve the Yeast
Pour the room-temperature water into a large bowl and dissolve the fresh yeast in it. If you’re using dry yeast, you can mix it in according to the package instructions. Add the flour and combine everything until no dry spots remain.
Step 2: Work in the Salt and Olive Oil
Let the rough dough rest, covered, for 10 minutes. Then add the salt, followed gradually by the 30 ml of olive oil. Knead for a total of about 8–10 minutes by hand or with a stand mixer on low speed, until the dough becomes smoother and more elastic. It may still be slightly sticky.
Step 3: First Rise
Cover the bowl and let the dough rise at around 20–23 °C (68–73 °F) for about 90–120 minutes, until its volume has visibly increased. After about 45 minutes, you can gently fold it from all sides toward the center once. This strengthens the structure without pressing out all the air.
Step 4: Transfer the Dough to the Oiled Baking Sheet
Spread the 20 ml of olive oil over the baking sheet – including the corners. Carefully lift the dough onto it and, with oiled hands, gently stretch it out just a little at first. If it springs back, let it rest, covered, for 15–20 minutes before stretching it out to the edges of the sheet.
The surface should then be as even as possible. Don’t flatten the dough with a rolling pin, or you’ll lose some of the trapped air.
Step 5: Second Rise
Let the dough rest on the baking sheet, covered, for another 40–60 minutes. It will become noticeably airier and develop small bubbles. This resting phase is important for the crumb later on.
Salamoia and Finger Dimples: The Secret of Focaccia
Now comes the step that makes our authentic Italian focaccia recipe special: the salamoia. This water-oil-salt mixture settles into the dimples and helps keep the focaccia moist.
Step 6: Mix the Salamoia
Whisk together 60 ml water, 35 ml extra virgin olive oil, and 4 g fine salt with a fork. It’s normal for the water and oil to separate again after a short while. Stir the mixture vigorously once more right before spreading it.
Step 7: Shape the Typical Finger Dimples
Pour the salamoia evenly over the dough. Then use several fingertips at once to press deep, closely spaced dimples almost down to the bottom of the sheet. Your fingertips should press into the dough, not tear through it. The salamoia should be allowed to pool in the indentations.
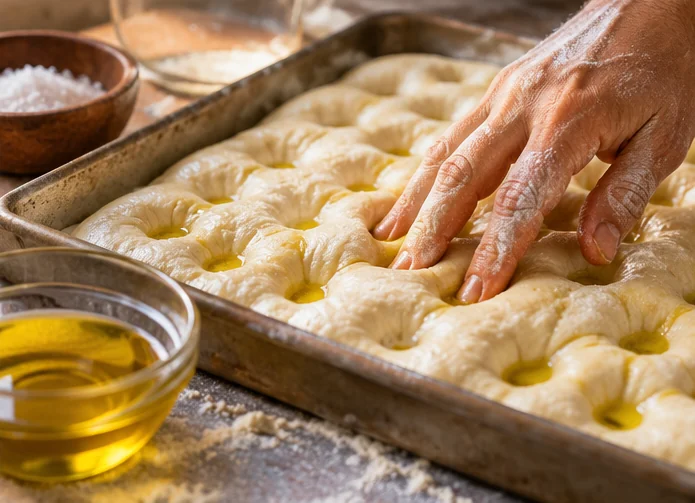
If you like, now sprinkle a little coarse sea salt over the top. Let the plain dough rest for another 15–25 minutes while the oven heats up fully. The surface should remain moist and glossy.
Authentic Italian Focaccia Recipe: Baking It Right
Step 8: Preheat the Oven Thoroughly
Preheat the oven to 230 °C (450 °F) top/bottom heat. A well-preheated oven is crucial: the focaccia should rise quickly and develop a crispy bottom. Place the baking sheet in the lower third of the oven.
Step 9: Bake Until Golden Brown
Bake the focaccia for about 20–25 minutes, until the surface is golden brown and the bottom has also taken on some color. The exact time depends on your oven, baking sheet, and dough thickness. Check more frequently toward the end rather than relying solely on the clock.
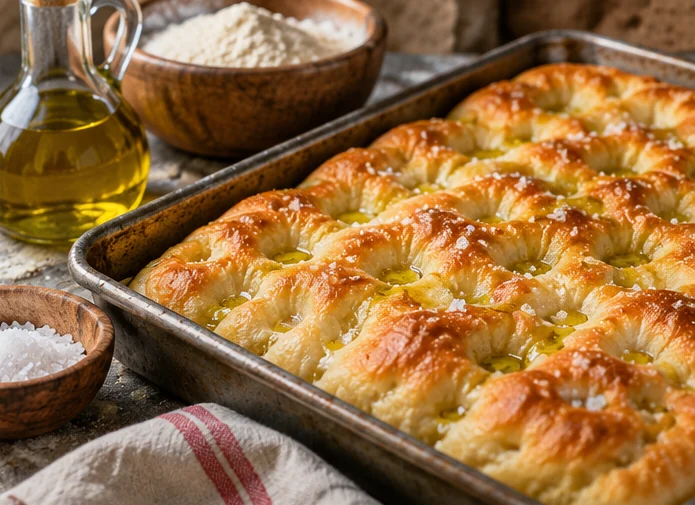
Step 10: Let It Cool Briefly and Enjoy
Remove the finished focaccia from the baking sheet as soon as possible and place it on a wire rack to cool briefly. This keeps the bottom crispier. After 5–10 minutes, you can slice it or break it into pieces by hand. It tastes best while still slightly warm.
Authentic Italian Focaccia Recipe: 7 Common Mistakes
1. Too Much Extra Flour
A soft dough is what you want. If you keep working flour into the dough while kneading, you often end up with a dry, dense focaccia. It’s better to work with lightly oiled hands and give the dough enough resting time.
2. The Dough Doesn’t Rise Long Enough
If the dough is still dense and tight, the focaccia will turn out heavy. The rising times are guidelines: what matters is that the dough visibly develops. At cooler room temperatures, this can take longer.
3. The Dimples Are Too Shallow
The dimples aren’t just decoration. They hold the salamoia and give the surface its characteristic texture. Press firmly, but without tearing the dough.
4. Too Little Oil or No Salamoia
The Focaccia Genovese is an olive oil bread. If you significantly reduce the oil and salamoia, the result tends to end up as an ordinary flatbread. Stick to the given quantities for your first attempt.
5. Oven Temperature Too Low
If the heat is too weak, the dough dries out before it browns properly. Preheat thoroughly and check the color on both the top and bottom.
6. Dough Far Too Thick
Genoese focaccia is traditionally rather flat. For 500 g of flour, use a sufficiently large baking sheet instead of squeezing the dough into a small, deep pan.
7. Confusing Toppings with the Original
Rosemary, olives, onions, or cherry tomatoes can be delicious. Our basic recipe deliberately sticks to olive oil and salt, because this very simplicity is what defines the character of traditional Focaccia Genovese.
Preparing, Varying, and Storing Focaccia
Preparing Focaccia Dough the Day Before
If you’d like less work in the morning, you can also let the dough rise slowly in the refrigerator. To do this, use less yeast (for example, 2 g fresh yeast per 500 g flour), let it start rising briefly after kneading, then place it covered in the refrigerator for about 12–18 hours. Before shaping, it should come back up to a suitable temperature; the rising times on the baking sheet will be correspondingly longer.
Can I Add Rosemary, Olives, or Tomatoes?
Yes – as a variation. A few rosemary needles, olives, or small tomatoes pair wonderfully with a Mediterranean-style focaccia. For your first true Focaccia Genovese, however, I recommend the classic version with just olive oil and salt. This way, you’ll get to know the flavor and texture of the dough best.
How Do I Keep Focaccia Fresh?
It tastes best fresh. Let any leftovers cool completely and store them well wrapped at room temperature until the next day. In the refrigerator, bread goes stale faster. To refresh it, 5–7 minutes at about 180 °C (355 °F) in the oven is often enough. You can also freeze focaccia in individual portions.
What Goes Well with Focaccia?
In Liguria, focaccia is eaten for breakfast, as a snack, or with antipasti. It pairs well with a salad, grilled vegetables, or simply some good olive oil. Our Pesto Genovese guide also shows how much flavor a few high-quality ingredients can develop.
Authentic Italian Focaccia Recipe: Frequently Asked Questions
Still have a question about the preparation? Simply open the relevant question – this way you’ll find the answer without having to scroll through the article.
The Right Organic Olive Oil for Your Focaccia
🫒 Premium Extra Virgin Organic Olive Oil 2026
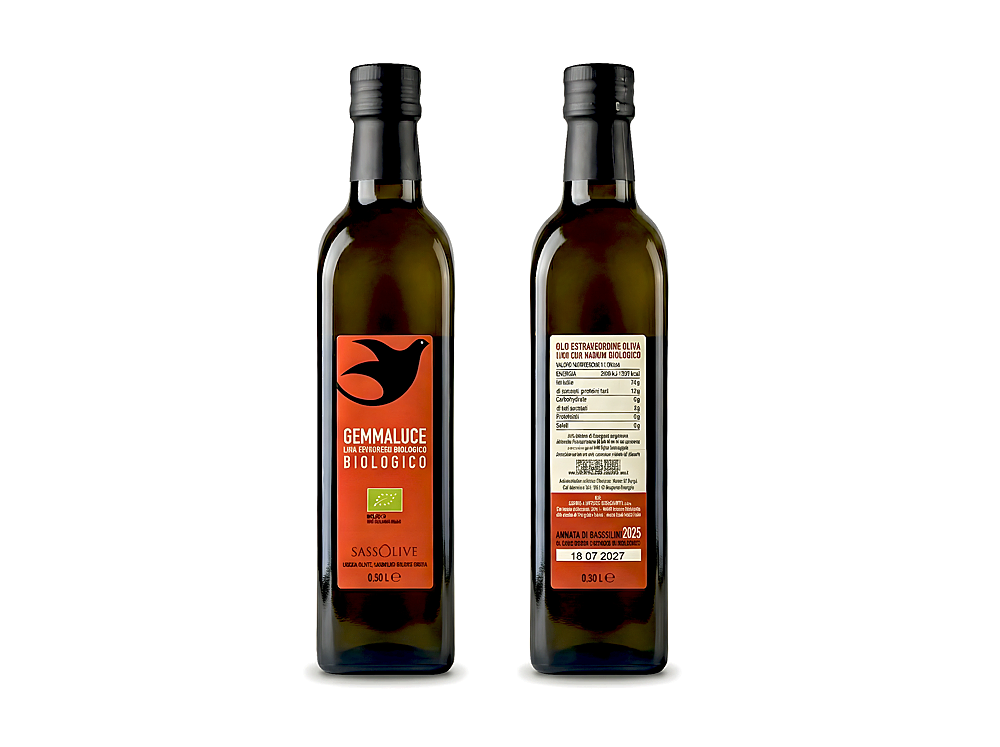
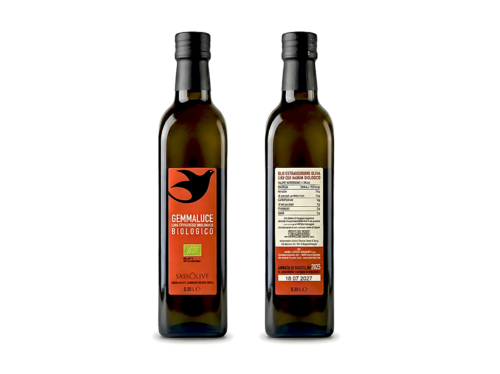
For authentic Focaccia Genovese, olive oil isn’t just an ingredient, it’s part of the flavor. Our extra virgin organic olive oil 2026 pairs wonderfully with the dough and salamoia thanks to its balanced, Mediterranean aroma.
You can use it for baking or drizzle some over the still-warm focaccia. Discover our currently available organic olive oil from Liguria – also delicious with antipasti, vegetables, and fresh bread.
Buon appetito – focaccia just like in Genoa!
This authentic Italian focaccia recipe shows why Ligurian cuisine is so special: flour, water, yeast, salt, and good olive oil are all it takes for a bread that tastes like a vacation on the Mediterranean. The secret lies in the time, the finger dimples, and the salamoia.
Want to discover more Italian classics? Then try our Lasagna Bolognese recipe or Spaghetti Aglio e Olio.
Did you make this focaccia? Let us know in the comments below whether your crust turned out crispy and your crumb nice and airy. We look forward to hearing about your experience from the Cucina della Nonna!